Premiere pro tutorials
To better my knowledge of the software i went through and finished all of the tutorials on premiere pro and have made 5 notes from each tutorial on what each one does.
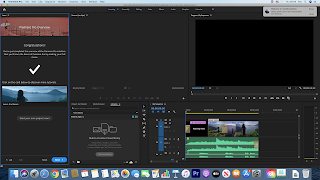
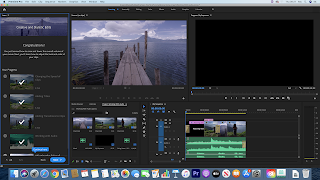
The overview
1. There are multiple windows that can be resized to suit the user.
2. The clip viewing window can be used to edit that specific clip.
3. The media window can be used to import new media into the project.
4. The timeline window is used to edit the sequence of the entire project.
5. The preview window allows the user to see exactly whats going to happen when the video is complete.
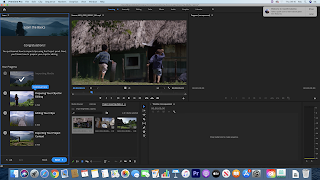
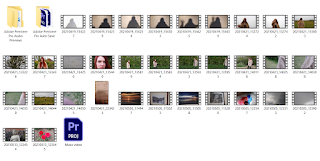
Importing media
1. Media can be imported through the media window.
2. You can import multiple clips at once.
3. The media window allows you to organise the clips so that they can be easily transferred into the timeline.
4. You can also import pictures into the media window.
5. You can use the same clip multiple times by dragging it from the media window into the timeline.
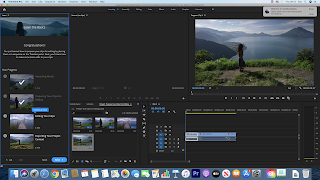
Editing and exporting
1. Once the clips are in the timeline you can edit them using the tools on the left or by adding effects.
2. The clips in the timeline can be cut and shrunk by dragging them in the timeline.
3. The audio can also be shrunk, cut or deleted in a similar way.
4. Once your clips are edited they can be exported using the file dropdown box.
5. You can export in many different ways and file types.
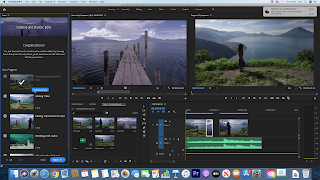
Creative editing techniques
1. You can add multiple creative techniques to the clips and the timeline using the graphics and the colour drop down boxes.
2. Cross dissolves and other transitions can be added to make watching the clips nicer to watch as the video does not just skip to the next when finished.
3. You can also reorganise your clips using the command and click functions.
4. You can slow or speed up footage by using the speed window.
5. The clips in the sequence can be modified by right clicking on the clip inside the timeline.
Finishing off
1. The clips in the clip viewer window can be modified such as changing the white balance.
2. Other effects can be added such as colour alterations or changes to vibrance.
3. Using the graphics section you can sharpen the picture.
4. You can use multiple video tracks to add layers to the video or add tiles.
5. Once finished you can export and the film will render (times will change with the amount of detail added).

Comments
Post a Comment